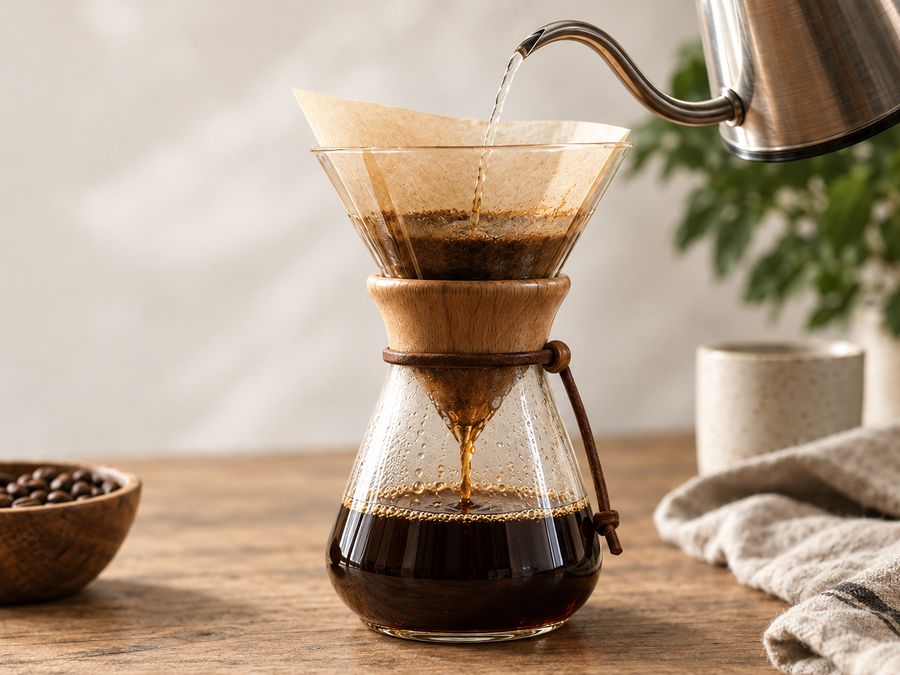
Making coffee without plastic does not require an expensive electric machine. In fact, a simple manual setup is often the easiest way to understand every surface that touches your water and coffee.
A practical starting kit includes a kettle with a verified water-contact interior, a ceramic or glass brewer, compatible paper filters, a scale or scoop, and a glass or ceramic mug. You can add a burr grinder later if you want better control over freshness and extraction.
Step 1: Choose your brewer
For one cup, a ceramic pour-over dripper is convenient and compact. For several cups, a Chemex serves as both the brewer and carafe. If you enjoy a richer texture, a stainless-steel French press may work, provided you inspect its lid and filter components.
New to manual coffee? Explore ceramic pour-over drippers for a straightforward first purchase. Brewing for two? Take a look at Chemex glass coffee makers.
Step 2: Check your kettle
A stainless-steel exterior does not necessarily reveal what touches water inside. Look for clear information about the interior, seams, spout, lid underside and any sight window. For an electric kettle, also investigate the parts surrounding the heating assembly.
A gooseneck spout can make pour-over easier, but it is not mandatory. Compare stainless-steel kettles with the same scrutiny you give the brewer.
Step 3: Decide on filters
Paper filters are simple to use and remove with the grounds after brewing. The right shape and size depend on your dripper. A metal filter is reusable but lets more oils and fine particles through and may require more cleaning.
Choose a filter based on the coffee you like, not a blanket assumption that paper or metal is universally better.
Step 4: Brew your first cup
Start with 15 grams of medium-ground coffee and 240 grams of water. Place a paper filter in the dripper and rinse it if the manufacturer recommends doing so. Add coffee, pour enough hot water to wet all grounds, wait about 30 seconds, then continue pouring in stages. Aim for an even coffee bed and a total brew time of a few minutes, adjusting grind and pour speed as needed.
If the cup tastes sour or weak, try a slightly finer grind. If it tastes bitter or harsh, try a slightly coarser grind or a different ratio. Your beans and water matter as much as the brewer.
Step 5: Build a realistic routine
Rinse and clean equipment after use, remove used grounds promptly and inspect glass or ceramic pieces for damage. Store your beans in an appropriate container and grind them near brewing time when practical.
The goal is not to chase an impossible promise of zero exposure throughout your entire kitchen. It is to make understandable, maintainable material choices in the part of coffee making you can control.
Bottom line: Start with a ceramic dripper, paper filter, suitably documented kettle and mug. Upgrade only when your taste or routine gives you a reason.